Importing and Exporting a Database in cPanel
Importing and Exporting a Database in phpMyAdmin
phpMyAdmin is a web‑based tool in cPanel that lets you manage MySQL databases. Most customers use it to import a database backup into a website, or to export a database so they can keep a copy or move it to another server.
Before you begin, make sure the database you want to work with already exists in cPanel. If you still need to create one, you can follow our guide on creating a database and user in cPanel.
 Before you start
You’ll need:
- Access to cPanel (If you need help, follow our guide How to log into your cPanel)
- The correct database file (usually a
.sqlfile) - A backup of your database before making any changes (If you need help, follow our guide Creating a cPanel Backup)
Taking a backup first means you can restore your data if anything doesn’t go as planned.
1. How to import a database in phpMyAdmin
- Log in to your cPanel.
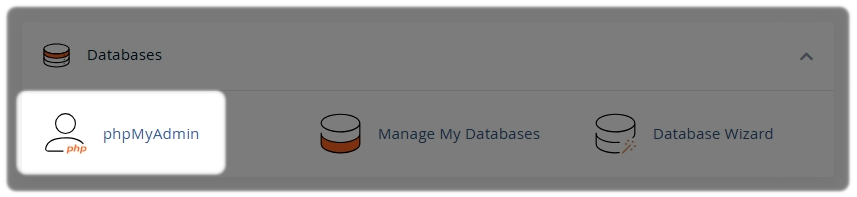
- In cPanel Tools, open phpMyAdmin from the Databases section.
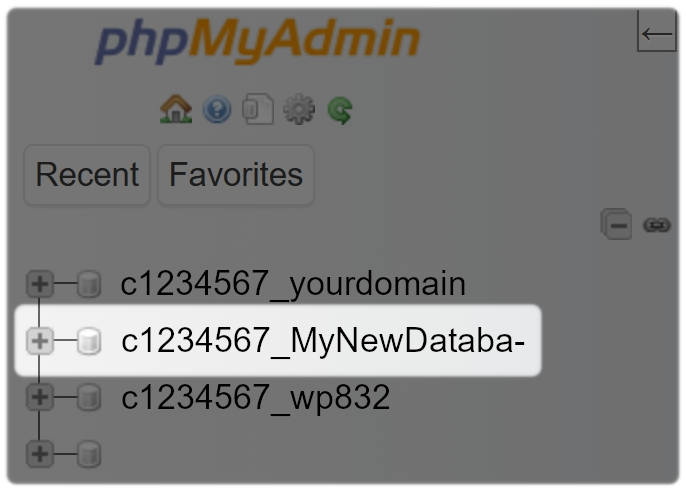
In the left‑hand menu, select the database you want to import into.
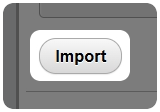
- At the top of the page, select the Import tab

Under File to import:
- Select Choose File and select your database backup file you have saved

Leave the default settings unchanged unless you know you need something different.
Once you have chosen the file, scroll down to the bottom of the page:
- Select Import
If the import is successful, you’ll see a confirmation message in phpMyAdmin.
Helpful import tips
- Database imports are usually
.sqlfiles. - Very large files may fail to upload due to server limits.
- Always make sure you’re importing into the correct database, as importing into the wrong one can cause your site to stop working.
2. How to export a database in phpMyAdmin
- Log in to your cPanel
- In cPanel Tools, open phpMyAdmin from the Databases section
In the left‑hand menu, select the database you want to import into.
- At the top of the page, select the Export tab

- For most common cases Select Quick as the export method
- Leave the format set to SQL
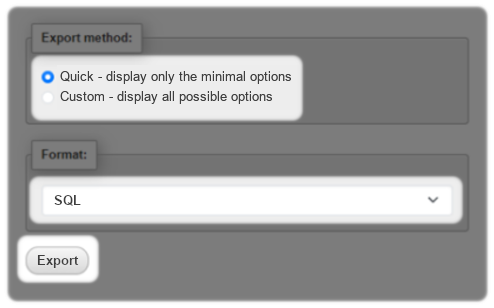
- Select Export
Your browser will download the database file automatically.
Helpful export tips
- Exported databases are saved as
.sqlfiles - You can use this file to restore your database later or move it to another server
- For simple backups, the Quick export option is usually all you need
Need Help?
Feel free to contact our Web Hosting team.