Creating a Database and User in cPanel
Why do I need a Database?
Many websites need a database to store important information like content, settings, and user data. This is true whether you’re installing WordPress, running another CMS, or using a custom web application.
You’ll also need to create a database when restoring a website, migrating from another host, or moving a site from staging to live.
cPanel makes this easy with the MySQL Database Wizard, which guides you through the process step by step.
1. Open the MySQL Database Wizard
Log in to your cPanel. If you need help, follow our guide How to log into your cPanel.
Once logged in, scroll to the Databases section of cPanel and select:
- Database Wizard
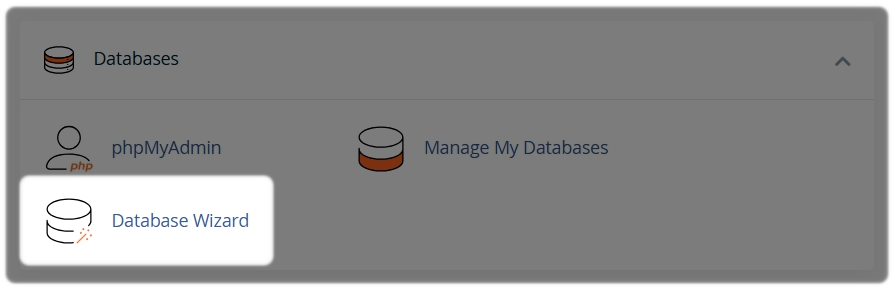
This tool will help you create both the database and its user in one smooth process.
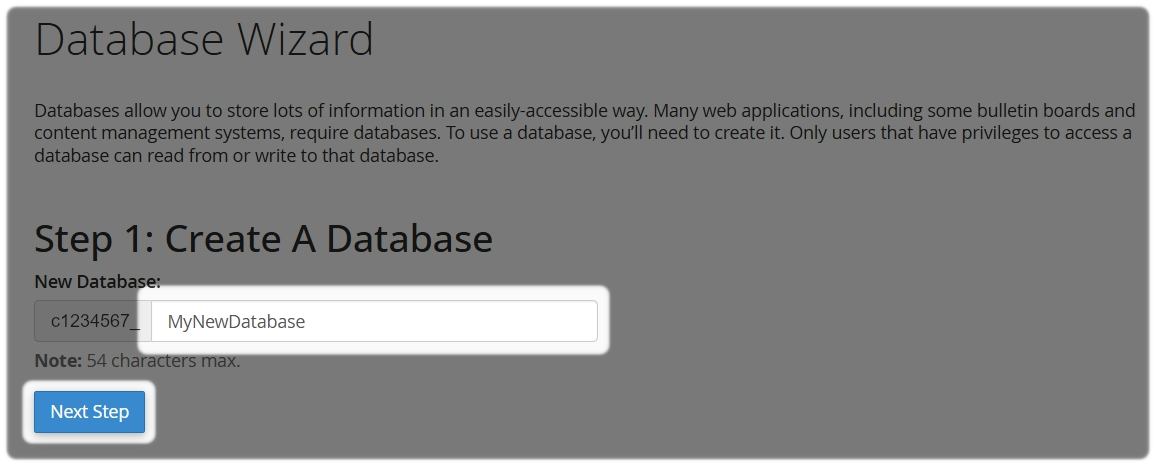
2. Create a New Database and User
Enter a name for your new database:
- Select Next Step
It will then ask you to create a database user.
Create a user who will be allowed to access the database:
- Choose a Username
- Set a strong, unique Password or use the Password Generator
Make sure you make a note of the following details and keep them somewhere safe:
- Database name
- Database username
- Database password
- Database host:
localhost
You’ll need these details when installing WordPress, configuring a CMS, or connecting a custom application to the database.
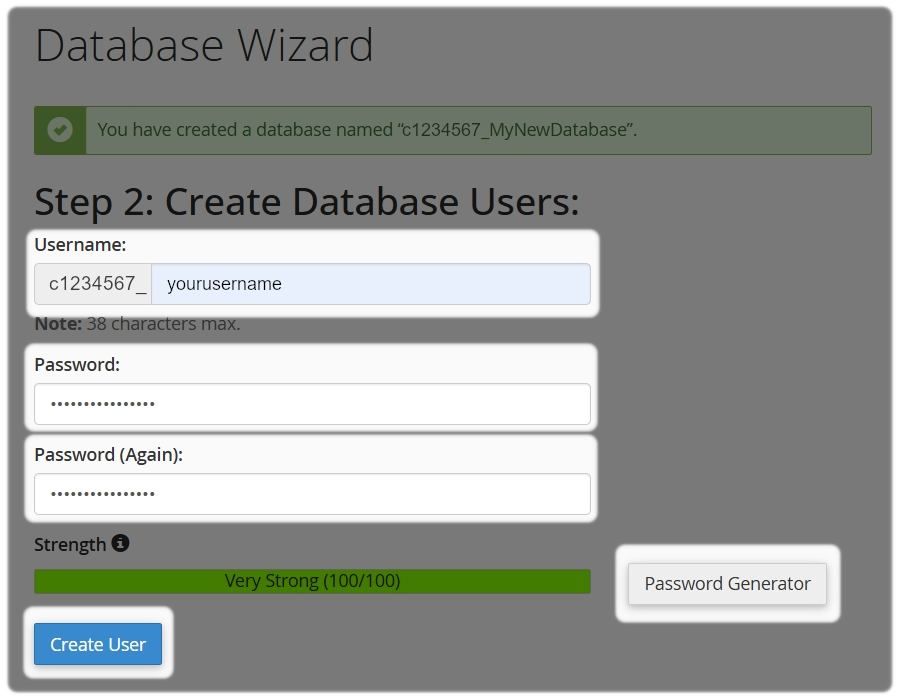
- Select Create User
3. Assign the user to the database
You’ll now be asked to choose what permissions the user has.
For most websites, we recommend selecting All Privileges. This ensures your site can read from and write to the database without issues.
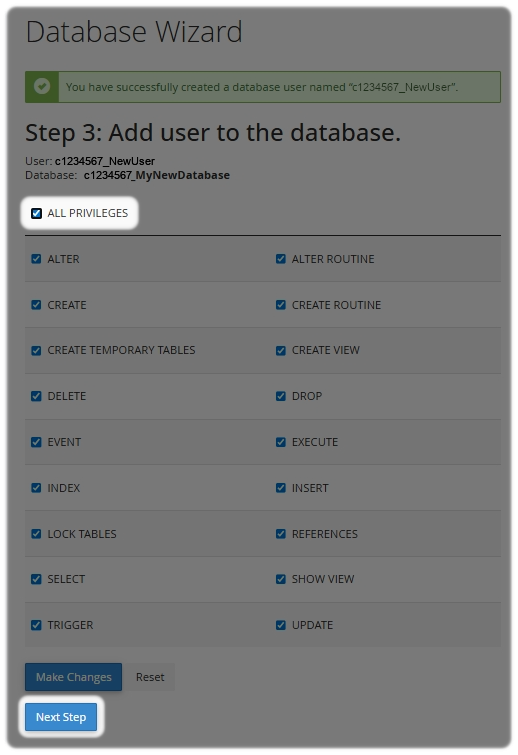
Select Next Step to finish.
Final note
Once your database and user are set up, your website software can connect to the database and start storing content and settings as expected.
Need Help?
Feel free to contact our Web Hosting team.