Creating an Email Account in cPanel
1. Accessing Email Account Settings
- First, open your cPanel and log in (for a guide on how to do this look here)
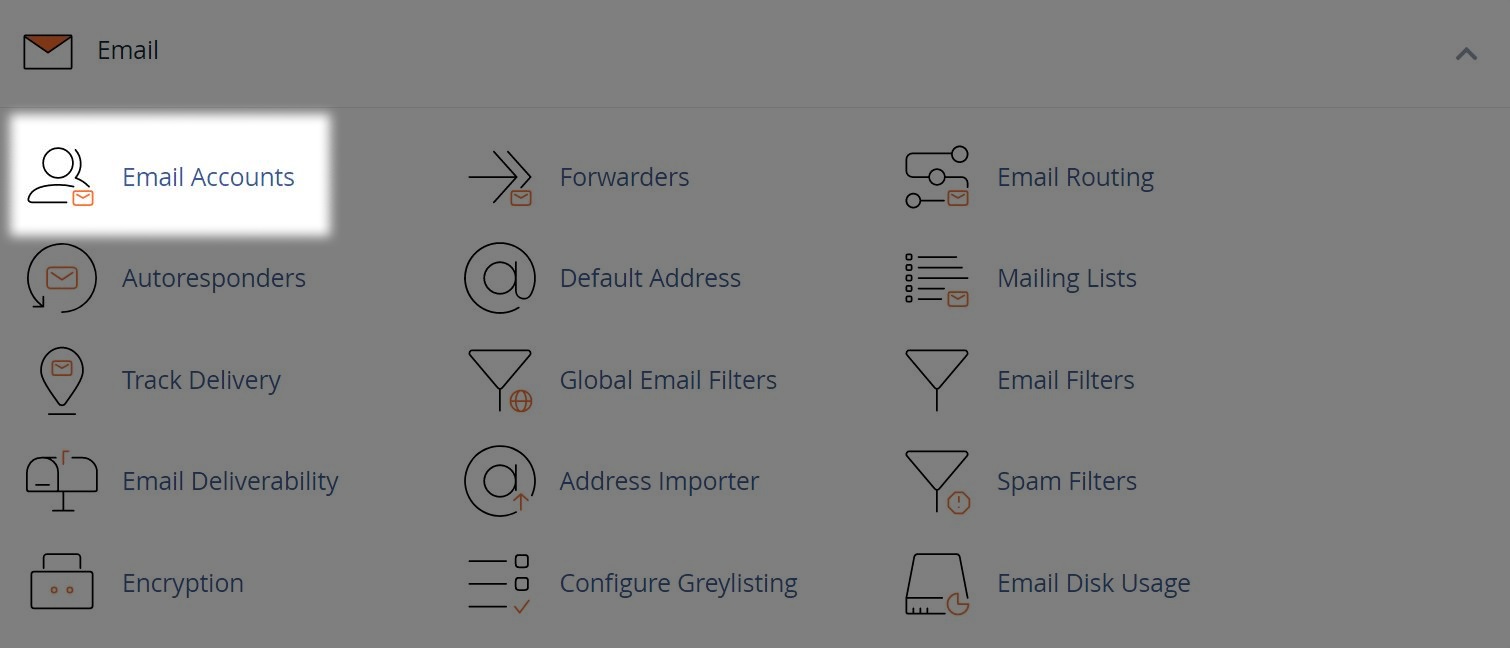
- Select "Email Accounts" from the "Email" sub-menu

2. Creating the Account
- Select the "Create" button next aside the settings icon
- On the next screen, enter the email address you'd like in the "Username" field
- If you have multiple domains, ensure the correct one is set aside the "Username"

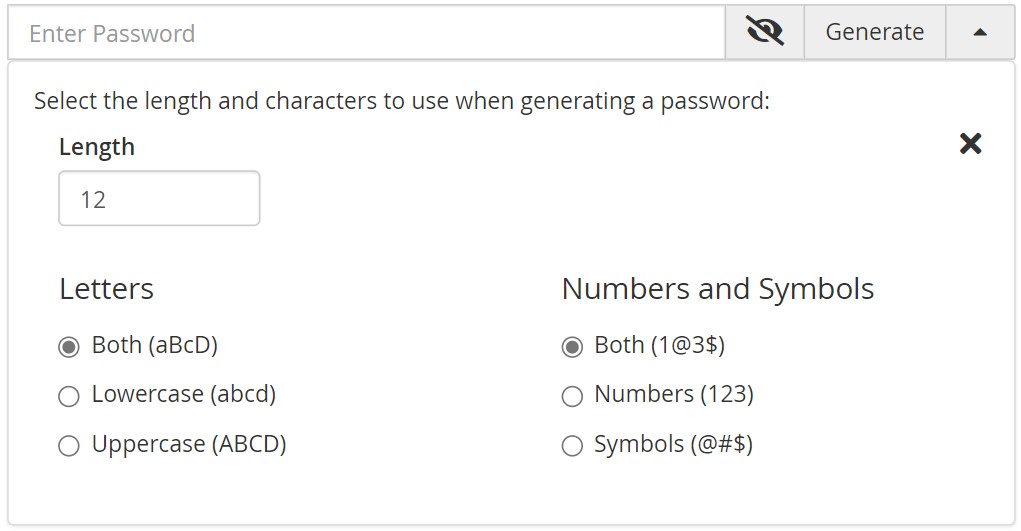
- Now set or generate a "Password"


Note: You can set the parameters for password generation, by clicking the down arrow next to the "Generate" button.
This may help if you require a password without certain characters or of a specific length.

Optional Settings
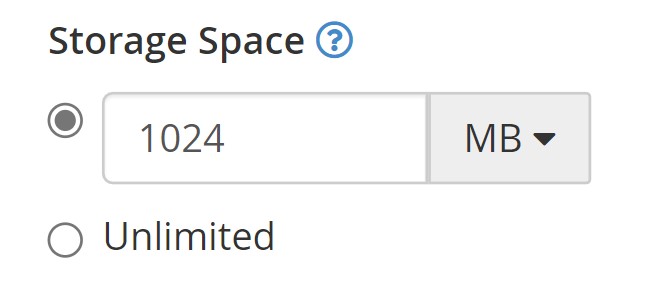
- Select the storage size you wish the mailbox to have, keeping in mind your cPanel storage quota
- Choose to collect emails with plus addressing in a separate mailbox folder
- You can have an email sent to you with instructions on how to setup a device for this mailbox, or read a guide on how to do this here


