Building a cPanel package
What is a cPanel package?
Please note: this guide is for Zen cPanel Resellers only. It does not apply to cPanel Bronze, Silver or Gold customers.
A cPanel package lets you set the limits for the hosting accounts you create in WHM. This includes things like disk space, bandwidth, email accounts, databases, and the number of domains an account can use.
1. Log in to WHM
First, log in to Web Host Manager (WHM). If you need any guidance, follow our guide: Accessing cPanel WHM (Web Host Manager).
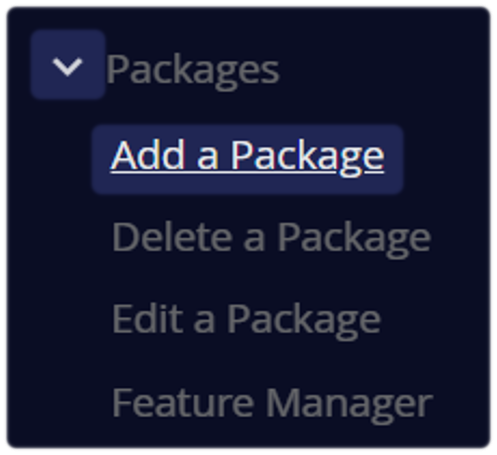
2. Add a Package
Once you're logged in, use the search bar located at the top left corner and type Packages
- Select Add a Package
3. Set up the package
This is where you provide a name and set the features and resource limits for the accounts that will use this package.
Choose a package name that’s clear and easy to recognise, such as Basic, Pro or Enterprise. This helps you quickly identify the level of resources included in each package.
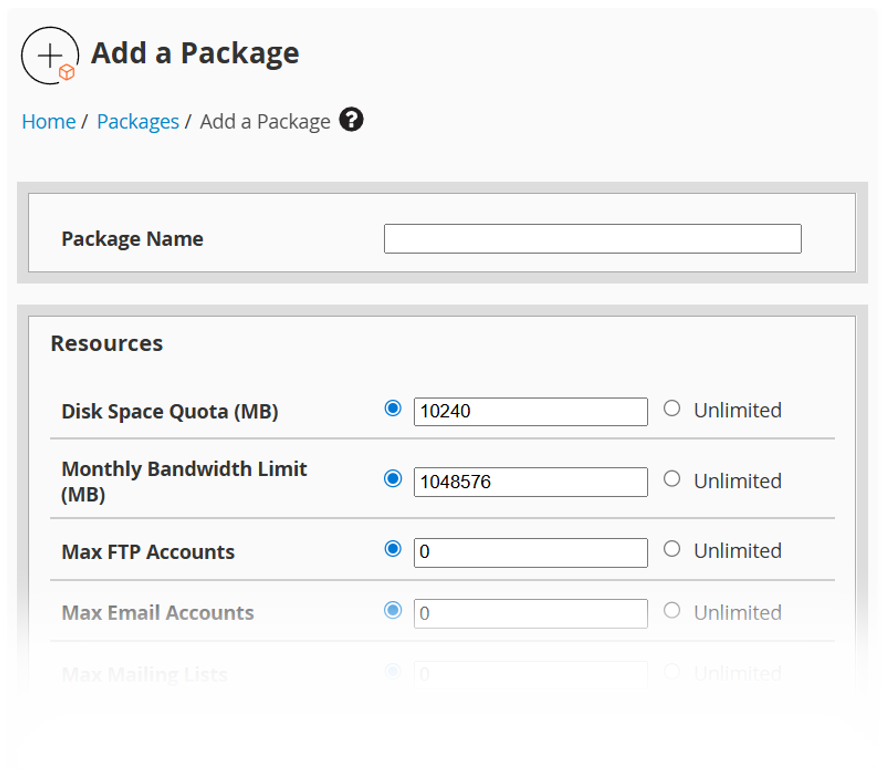
Set the resource limits for each cPanel account in the package, including:
- Disk Space Quota (MB) – the amount of storage available
For example, 5000 MB = 5 GB - Monthly Bandwidth Limit (MB) – the amount of data transfer allowed each month
For example, 50000 MB = 50 GB - Maximum FTP Accounts
- Maximum Email Accounts
- Maximum Databases (MySQL)
- Maximum Subdomains
- Maximum Parked Domains
- Maximum Addon Domains
We recommend setting clear limits rather than using “unlimited” values.
4. Additional settings
You can also choose:
- CGI Access – usually enabled by default
- Theme – we recommend using the default theme unless you need something different
- Locale – the default language for the package
- Feature List – if you’ve already created a feature list, you can select it here
5. Save the Package
Confirm your configuration by selecting the "Add" button located at the bottom of the page.
The newly created package will subsequently be available for selection when provisioning new accounts, or you can apply it to existing accounts. Use the ‘List Accounts' option in WHM.
Best practice tips
- Start with two or three packages, such as Basic, Pro and Business
- Make sure your package limits stay within your reseller plan allowance (see: domains and webhosting)
- Use clear, consistent names for your packages
- Check account usage regularly in WHM > List Accounts
Still Need a Hand?
Feel free to contact our Web Hosting team.