Using NGINX Caching in cPanel
What is NGINX Caching?
Using NGINX caching on your website can improve its performance, by storing and serving cached versions of your site's content. Pages can be loaded faster for your visitors providing a better user experience!
However, it's important to note that when you make updates to your website, the cached versions may not immediately reflect those changes. To ensure that your latest updates are visible, you might need to temporarily disable caching or manually clear (flush) it.
The good news is that with cPanel, managing NGINX caching is a breeze! You can easily enable, disable, or flush the cache directly from the right-hand sidebar, without having to navigate through menus.
1. How to Locate NGINX Caching
- Start by opening your cPanel dashboard and logging in with your username and password
If you need help finding or using your cPanel login, take a look at this helpful guide
- Once you're logged in, find the "NGINX Caching" section:
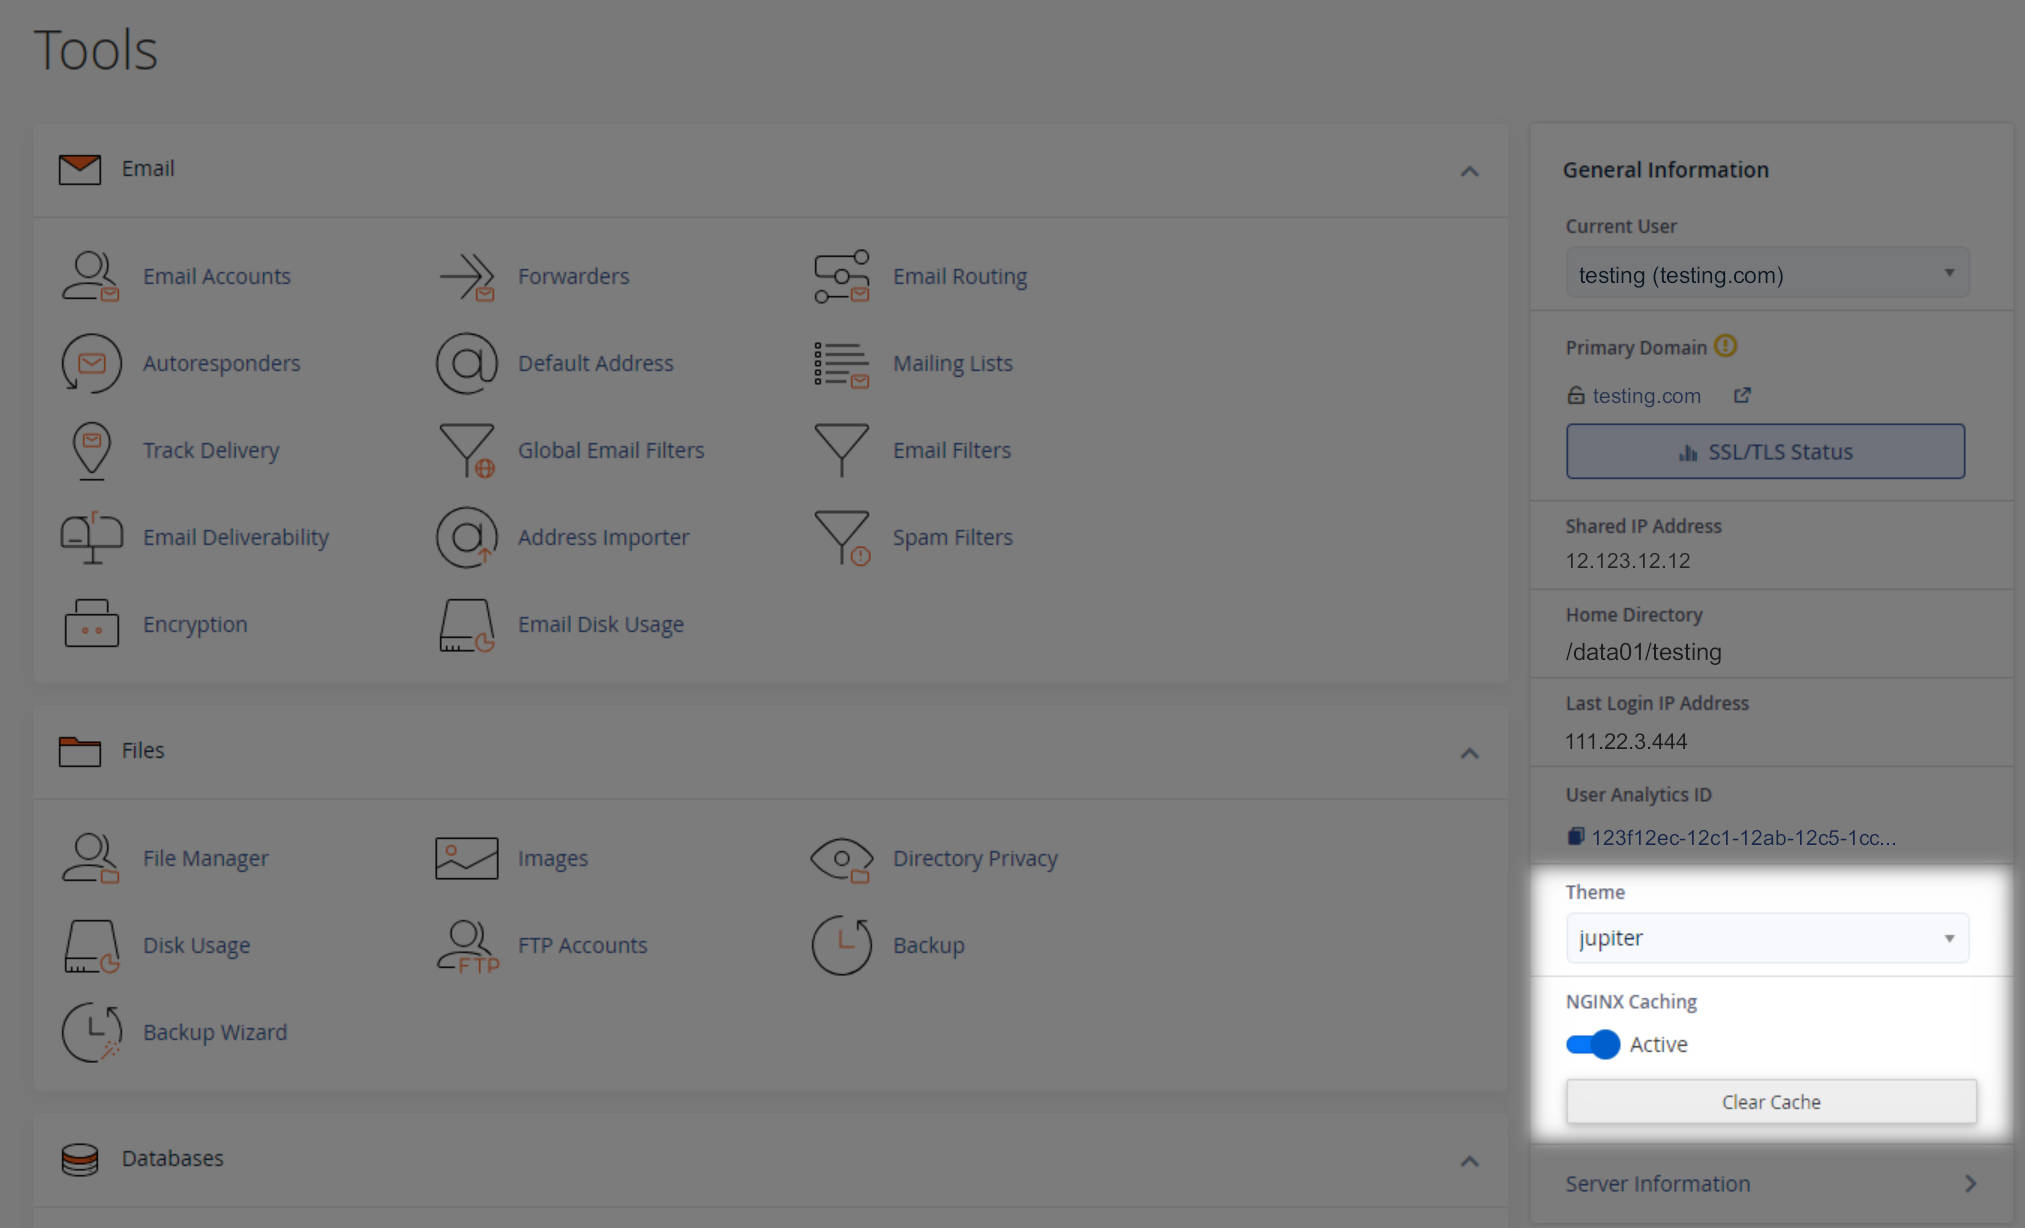
- Look at the right-hand side panel (under your theme selection and above Server Information)
2. How to manage your NGINX Caching
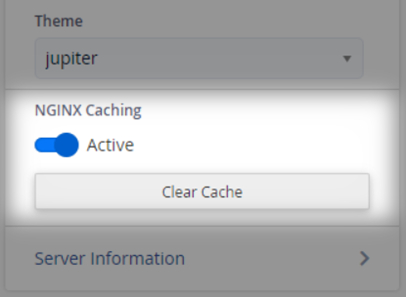
Enable/Disable Caching
- You’ll see a toggle switch labeled NGINX Caching
- If the toggle is blue and says Active, caching is currently enabled, to maximize your site’s speed and performance
- Click the toggle to disable or re-enable caching at any time, use disable if you're making frequent updates or troubleshooting issues

Clear (Flush) Cache
- Click the Clear Cache button, this instantly removes the current cached content for your site

- This is useful after making website updates to ensure visitors see the latest version instantly