Setting up your Eero
CityFibre
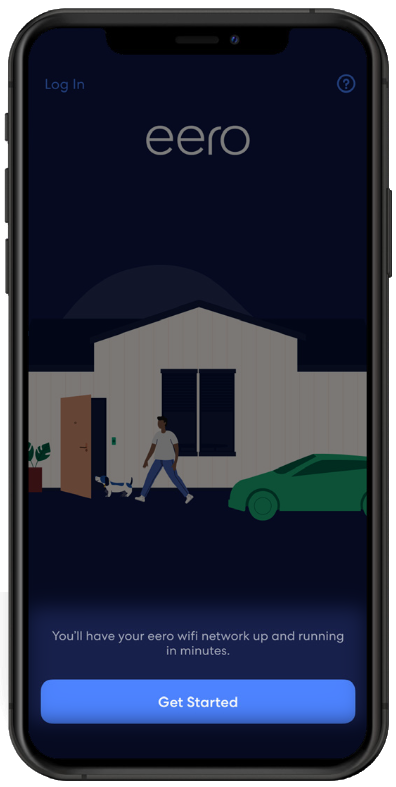
1. Download and Log in to the Eero App
The Eero App is required for setup, You can find a link to each of the common App stores here.
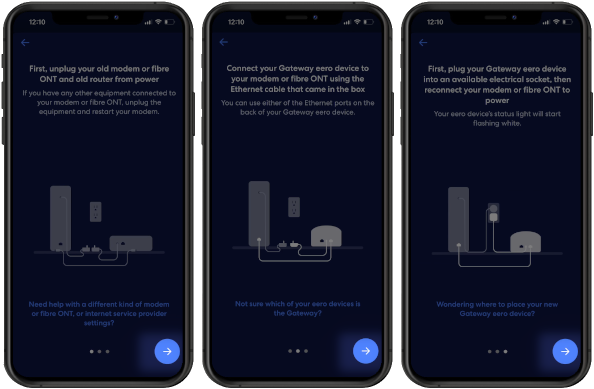
2. Removing Existing Broadband Equipment
If you've moved to Zen from a previous provider, carefully disconnect any equipment from your old ISP to make way for your new Eero.
3. Identifying your ONT
The ONT (Optical Network Terminal) could look different depending on when you had your service installed.
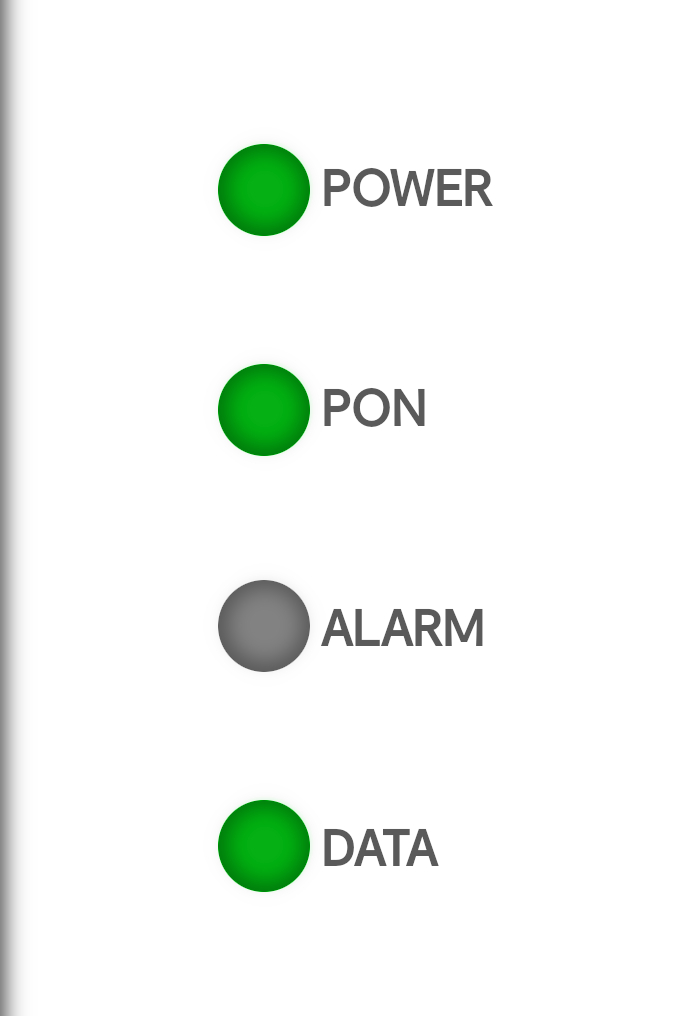
If you need help finding your ONT, look for a small black/grey or white box, mounted to a wall within your property (usually on the ground floor), with 4 lights.
4. Connecting to a Grey ONT
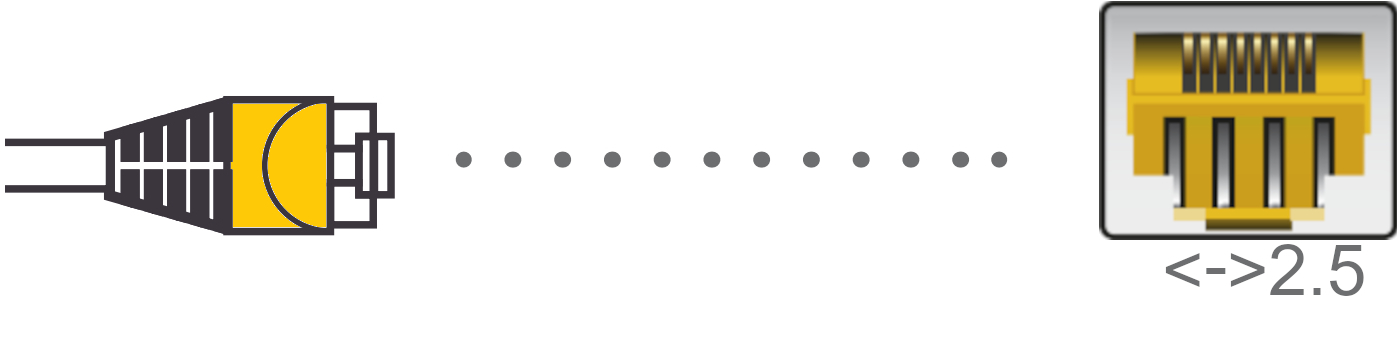
- Plug the Ethernet cable into "Ethernet" on your ONT
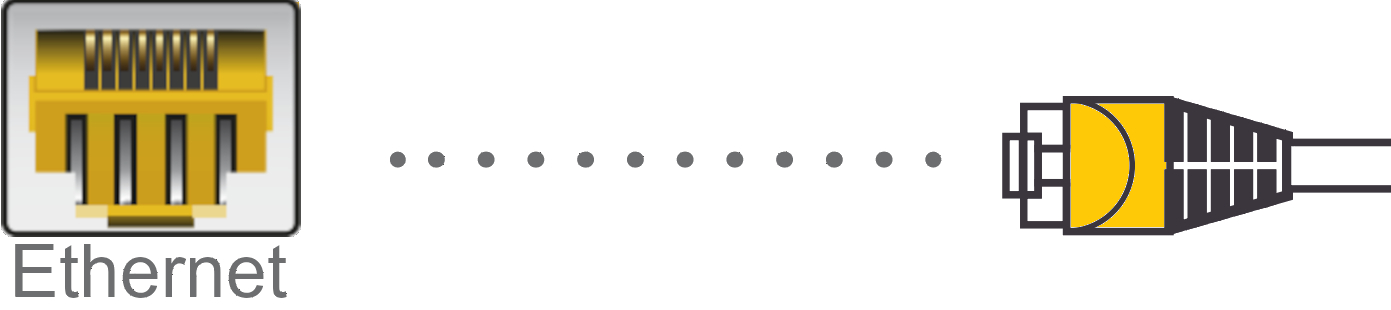
- Now connect the other end of the Ethernet cable into a "2.5" Ethernet Port on your Eero
5. Connecting the Power Cable
- Connect the UK style power cable into a mains power socket, then connect the USB Type C cable into the back of your Eero
Now, the "Data" or "Ethernet" light will now begin to flash on your ONT. This indicates that your router is now talking to the Internet and setting up

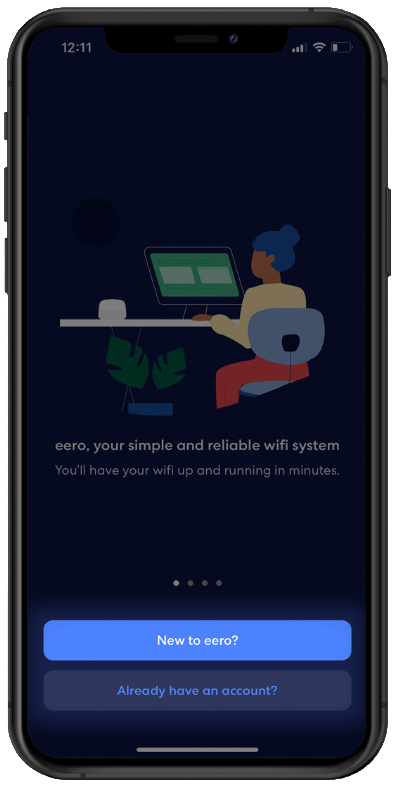
6. Setup your Eero in the App
- Go back to the Eero App and press "Get Started"
- Then press "Start"

- The set up steps shown in these pages have already been completed, so select the arrow on each to continue
- If prompted, allow access for the Eero App to use Bluetooth, as this is needed for setup

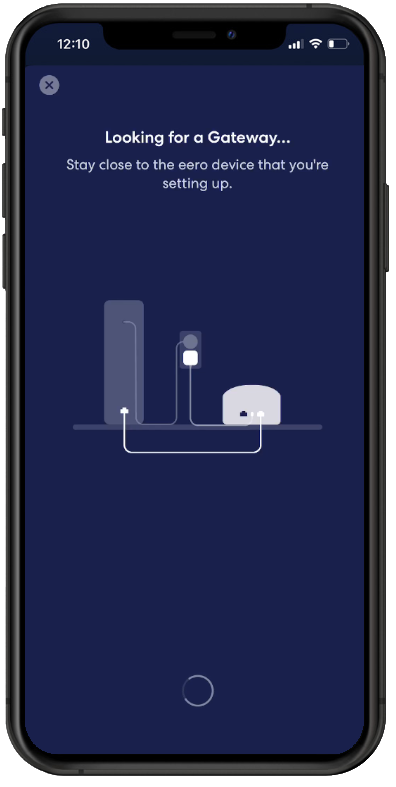
- The App should now locate and configure your nearby Eero automatically
- If your Eero encounters a problem "reaching the Internet" please follow the setup steps here
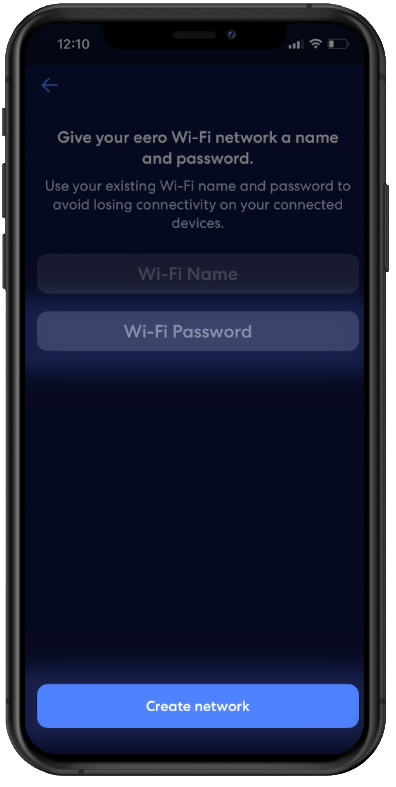
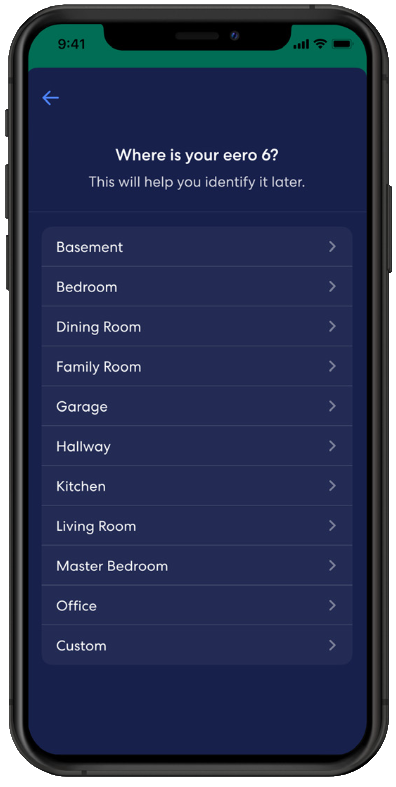
7. Entering WiFi Details
- From the options shown, select the most appropriate location for your Eero. Or set a custom name
- Set a name for your WiFi Network, this is the name you will look for when connecting your devices to WIFi
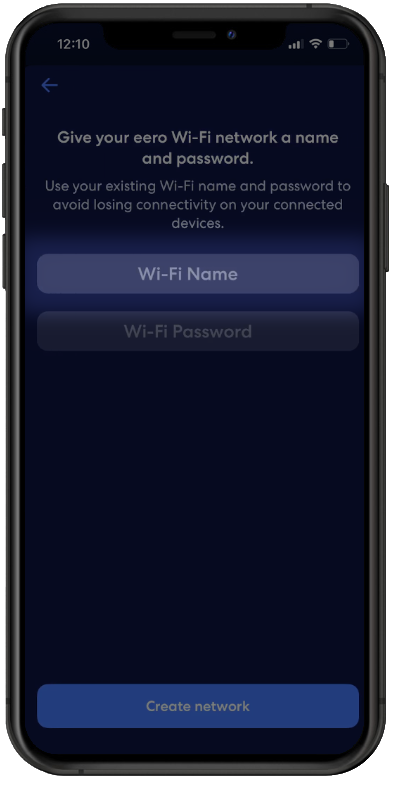
- Now set a Password for your WiFi, then press the "Create Network" button to complete the setup of your Eero