Managing Auto SSL on cPanel
What is SSL
SSL (Secure Sockets Layer) encrypts information between a browser and a server. This protocol protect against eavesdroppers. This protects sensitive communications e.g. banking and login information.
This protocol initiates a handshake, during this the server and the user’s device agree on a specific set of public and private keys. These keys are used to encrypt and decrypt the data transmitted and received.
An SSL certificate is a document that binds a public key to an identity. This helps secure the connection between a web browser and a website.
If you wish to know more about our SSL offerings, you can find more info here.
1. Accessing SSL/TLS Certificates in cPanel
Note: In most cases, new domains added to cPanel are automatically secured with SSL. If this hasn’t happened, the steps below will help you check and activate it.
Before you begin, make sure your domain’s DNS is pointing to your Zen cPanel server. For more information on how to do this, please see here:
First, open your cPanel and log in (for a guide on how to do this look here)
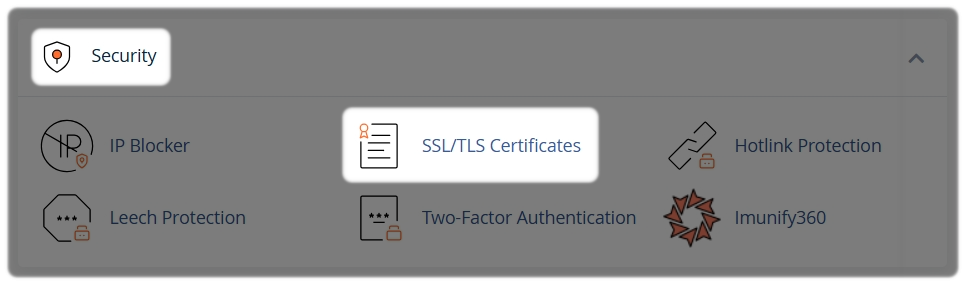
Within the Security section:
- Select "SSL/TLS Certificates"
2. Checking AutoSSL Status
- Open the Status tab
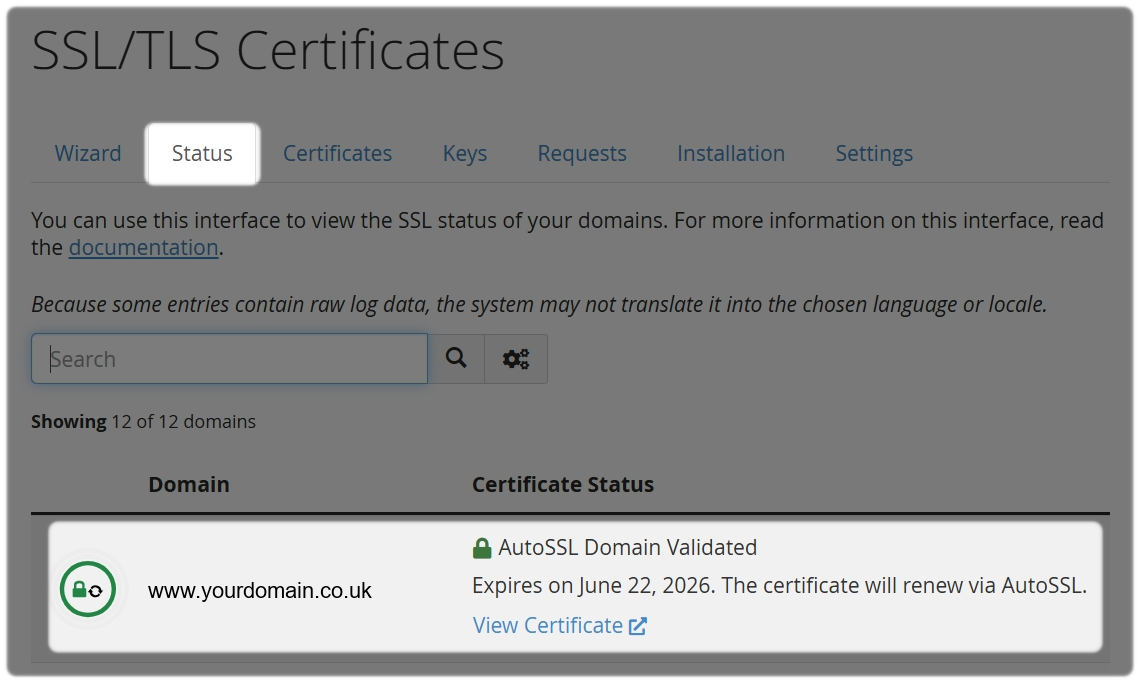
You’ll see a list of domains on your account, along with:
- Whether an SSL certificate is installed
- Any issues preventing AutoSSL from working
- When AutoSSL last ran for each domain
If your domain shows as secured and validated, no further action is required.
3. Requesting an SSL Certificate with AutoSSL
If your domain isn’t secured yet, you can request an SSL certificate manually.
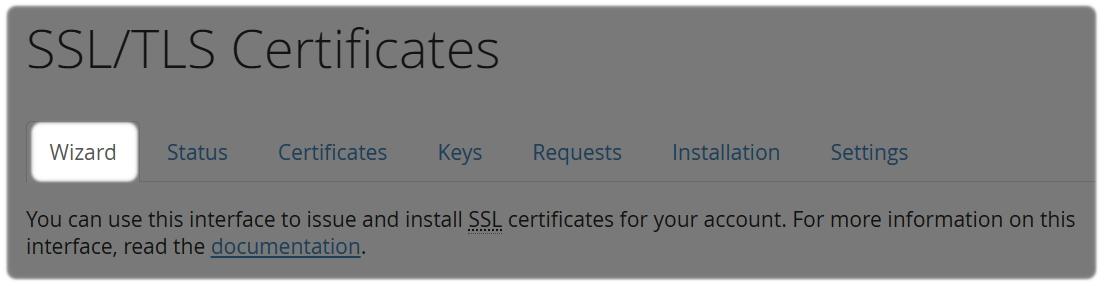
- Select the Wizard tab
- Choose the domain(s) you want to secure
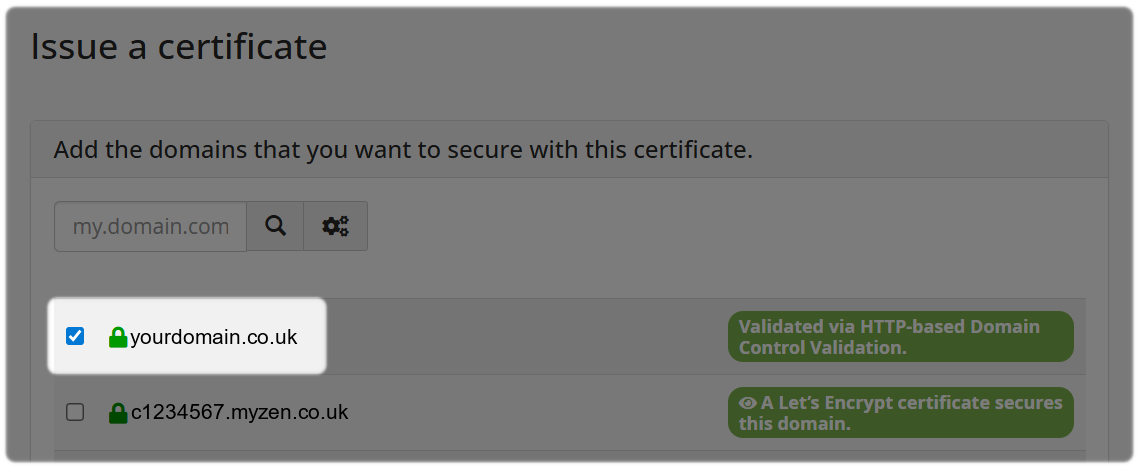
Note: Make sure the domain’s A record points to your cPanel server IP, otherwise the request will fail.
- Select Continue

- Choose Let’s Encrypt Certificate (Request a basic certificate) used by cPanel
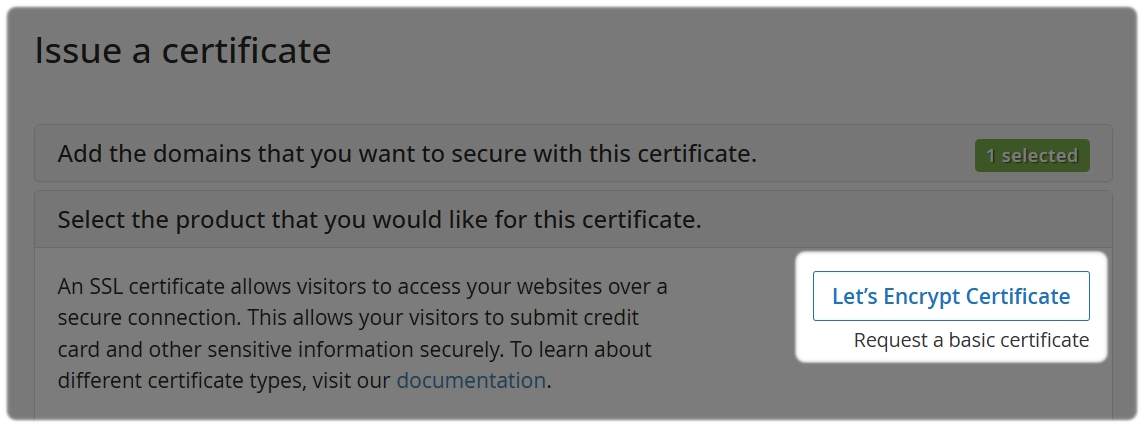
Allow the wizard a few moments to complete. Once successful, your SSL certificate will be installed automatically and should renew itself in future at no cost.
4. Why AutoSSL Might Not Work
AutoSSL relies on your domain correctly pointing to your hosting server. It may fail if:
- The domain or hostname does not have an A record pointing to the cPanel IP
- DNS changes haven’t finished propagating
Also, while SSL secures the connection to your website, it doesn’t automatically update your website content to use HTTPS throughout. Updating website code or fixing mixed‑content warnings is outside Zen’s support scope.
If needed, we recommend speaking with your website developer or IT provider for help with code changes.