Setting up Zen Mail on Android
Before you Start
To setup Zen Mail, you'll need your email account and server information.
If you don't have this you can log into My Account or follow the step-by-step guide here to find it.
1. Adding a New Mail Account
- Unlock your phone and open the Gmail App. You can also use search to locate this
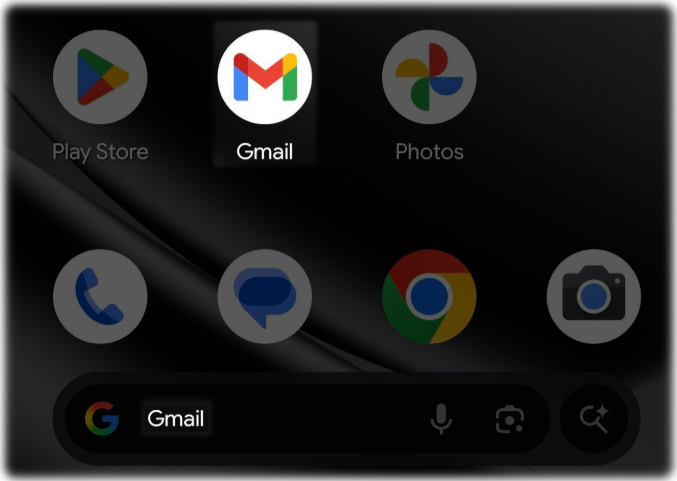
- In the top left of the App, select the Menu icon
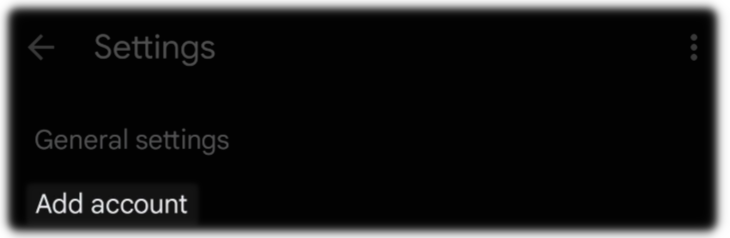
Then select, "Settings"

Now, "Add account"
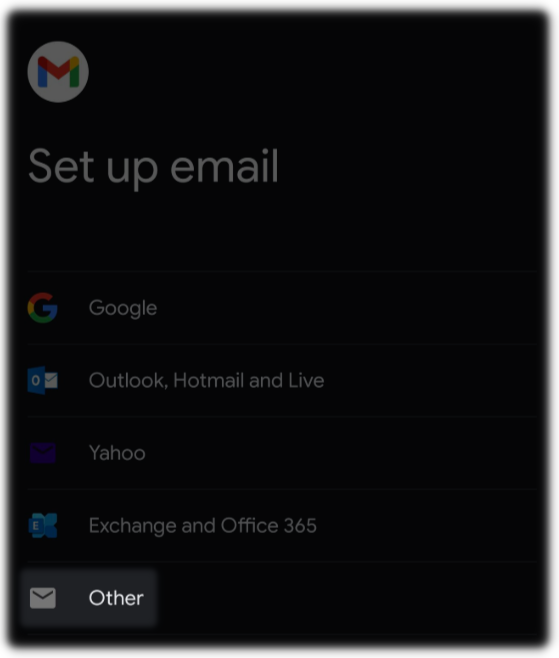
And from the list of different mail accounts, select "Other"
2. Entering Account Information
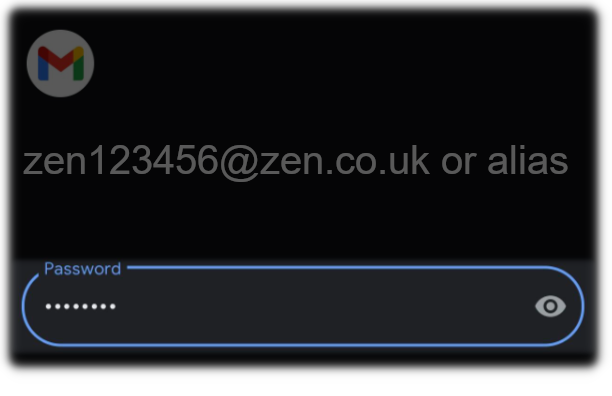
The next screen will ask for some of you Zen account information:
Email Address - Enter your email alias, if you don't have an alias, enter your email username

- Account Type - select "Personal (POP3)"
-account-zen-internet-.png?sfvrsn=7f81d157_1)
- Password - Type in the email password
For help on finding your Zen Mail Username and Password, you can read this guide here.
- Select "Next" to continue the setup
3. Entering Server Settings
Now, enter the following Zen Server settings:
- Username - Type your Zen Mail Username
Password - Type in the email password if this is blank
Server - mailhost.zen.co.uk
For help on finding your Zen Mail Username and Password you can read this guide here.
- Delete emails from server: When I delete from Inbox
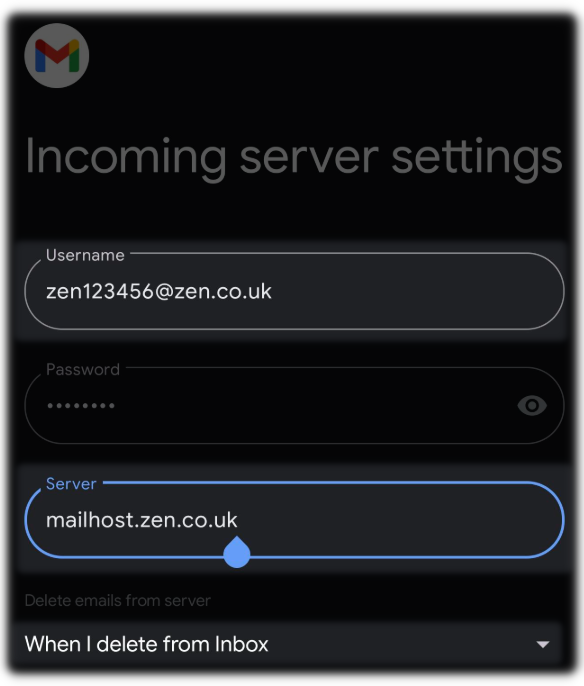
Note: On the Gmail App there's no option to delete from server based on timescale. Any emails deleted or moved to folders will not be received on any other devices which you use your Zen Mail for.
- Select Next
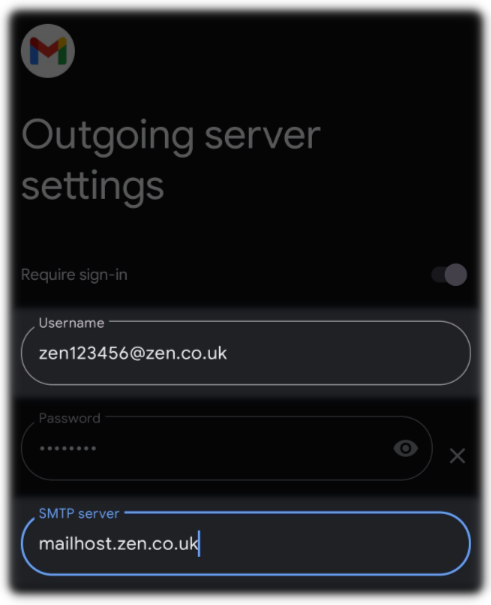
You will now be asked for the Outgoing server settings. Enter the same information as you have for Incoming server settings above, then select "Next".
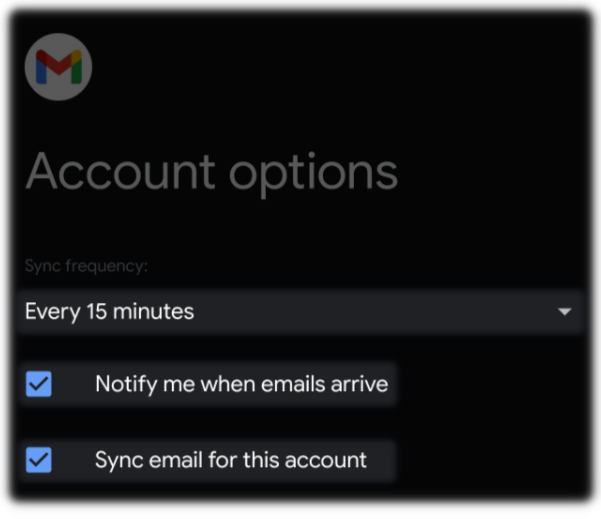
Set Account Options to your preferred options, however the following settings may be preferable:
Sync frequency (Check mail) Every 15 minutes
Check Notify me when emails arrive
Check Sync email for this account
- Now select "Next" to continue
- Type the "Name" you wish to be displayed on your emails

4. Checking Port and Encryption Settings
After selecting "Next" you'll be taken to your inbox, however we’ll need to verify and check the port settings, as well as ensure the correct encryption method is selected before setup is complete.
- Select Menu icon
![]()
Then select "Settings"
- Now locate and select the zen.co.uk account that has just been created
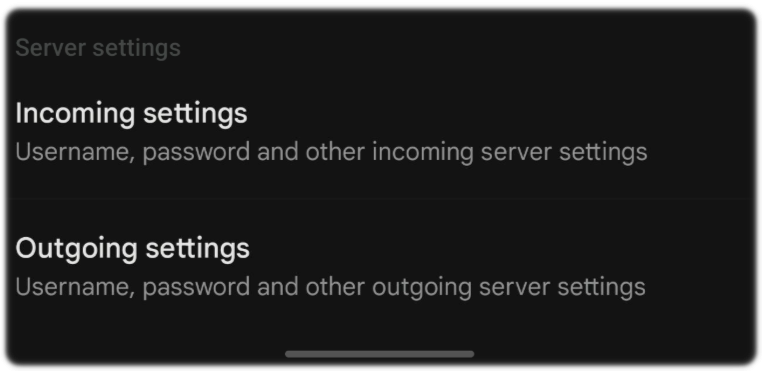
- Under the Server settings heading. Select "Incoming settings"
- Check that the "Port" is set to "995" and the "Security type" is set to "SSL/TLS"
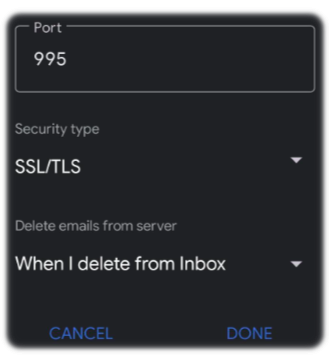
- Once those settings have been set, select "Done"
- Now select "Outgoing settings"
- Check that the "Port" is set to "587" and the "Security type" is set to "STARTTLS"
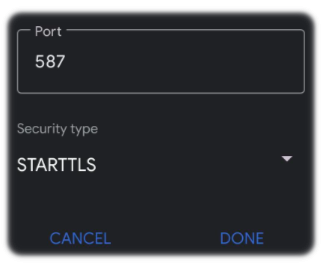
- Once those settings have been set, select "Done" to complete your setup
Contacting Technical Support
Your email account should now be setup, if you have a problem we recommend repeating the setup steps above.
If you encounter issues with sending or receiving emails, or still need help with setting things up. Please reach out and contact our Technical Support team.