
 Sign in to MyAccount
Creating a Autoresponder for your cPanel emails
Creating an Autoresponder
Did you know you can automatically reply to incoming emails through your hosting account?
An autoresponder sends an automatic reply whenever someone emails a specific address. It's commonly used for out-of-office messages, but it can be customised for any purpose. You'll still receive the original email, while the sender receives your automatic response.
Unlike out-of-office replies set in applications such as Outlook or Apple Mail, a cPanel autoresponder works on the server, so it continues to send replies even when your devices are switched off.
1. Add an Autoresponder in cPanel
- Log in to your cPanel, a guide for this can be found here if required. see - How to log into your cPanel
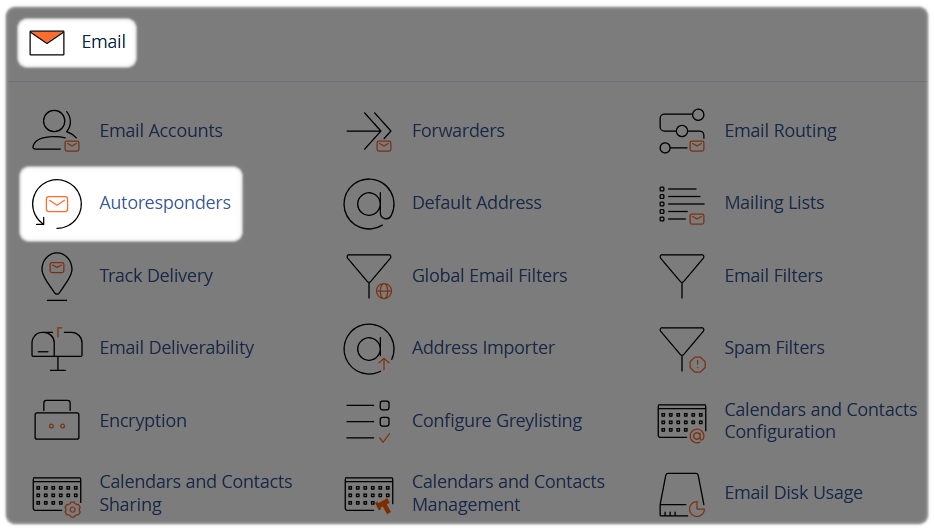
- In the Email section, select Autoresponders
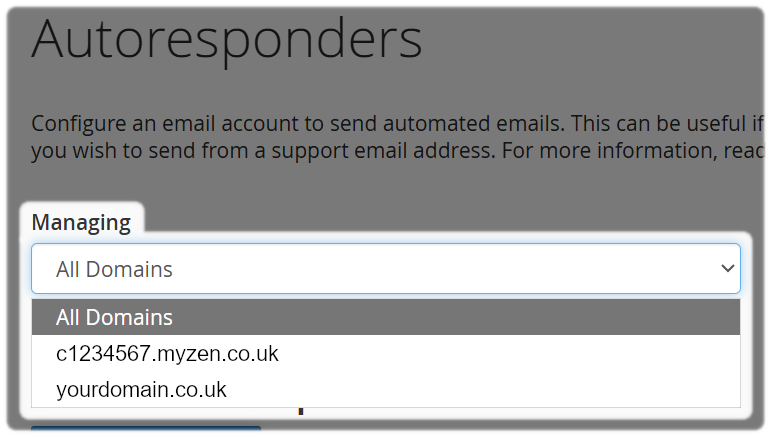
- Select the domain you want to add the Autoresponder to, or select All Domains
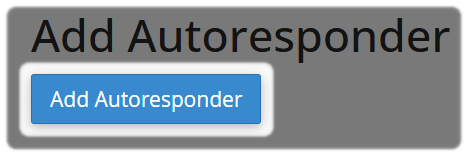
- Click Add Autoresponder
- Leave the character set set to UTF-8 unless you have a specific reason to use a different option

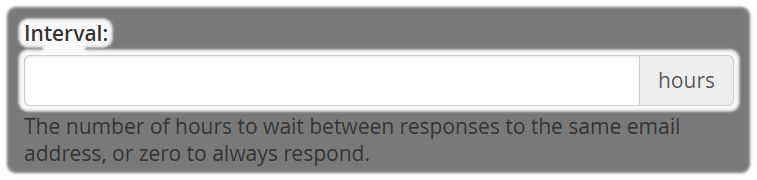
- Set the Interval value. This determines how often the same sender receives an automatic reply.
- 24 = one reply per sender every 24 hours
- 0 = a reply is sent to every email received
- Enter the first part of your email address that appears before the @ symbol you want to send automatic replies from

Note: You can only have one autoresponder per email address.
- Enter the Domain that appears after the @ symbol of the email address
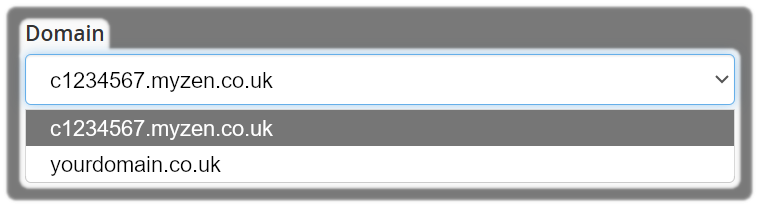
- Enter the From name

- Enter the Subject line that will appear in the automatic response

- Enter your message in the Body field
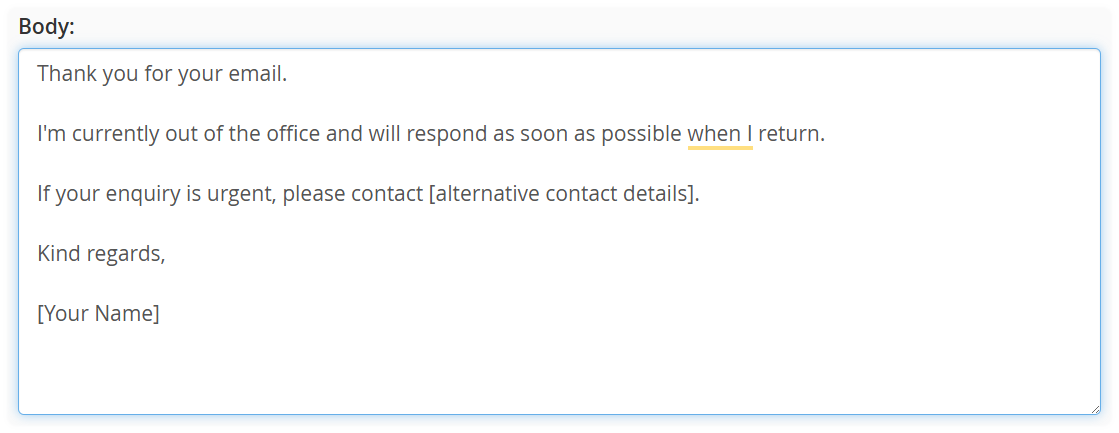
- Choose when the autoresponder should start:
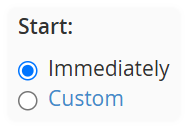
- Immediately to activate it straight away
- Custom to schedule a future start date and time
- Choose when the autoresponder should stop:
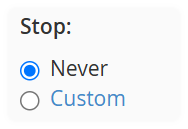
- Never to leave it running until you manually remove it
- Custom to schedule an end date and time
Make sure the end date is later than the start date.
- Select Create to save your autoresponder:

Your Autoresponder should now successfully be created.
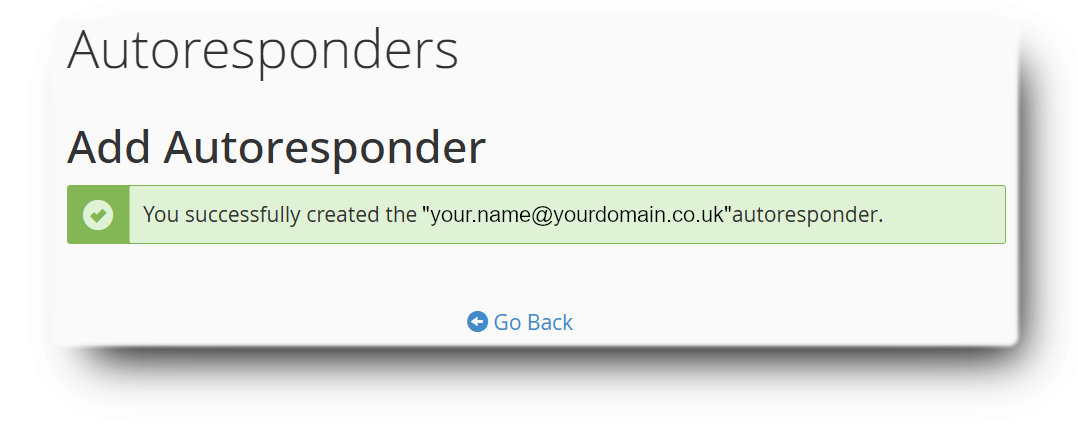
You can customise your autoresponder message however you like. Out-of-office replies are one of the most common uses, but you can also use autoresponders to acknowledge enquiries or provide additional information automatically.
For the best experience, we recommend keeping your message concise, including a return date where appropriate, and using the interval setting to avoid sending repeated replies to the same sender.
2. Edit or Delete Autoresponder
If you want to edit or delete the autoresonder.
- Open the Autoresponder in cPanel
- Find the autoresponder you want to edit or remove
- Select Edit or Delete
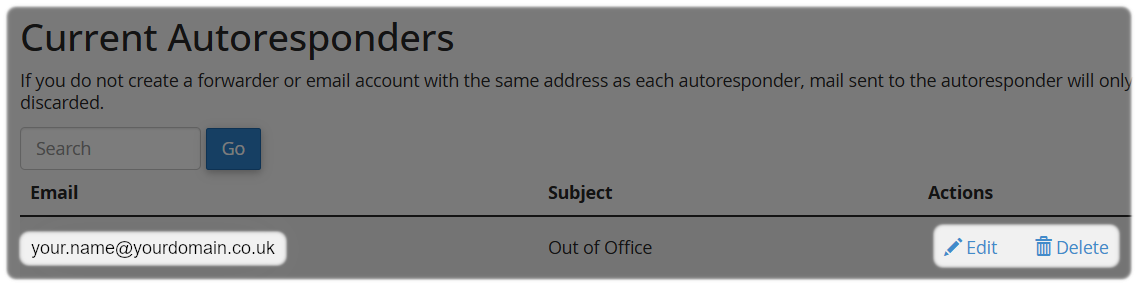
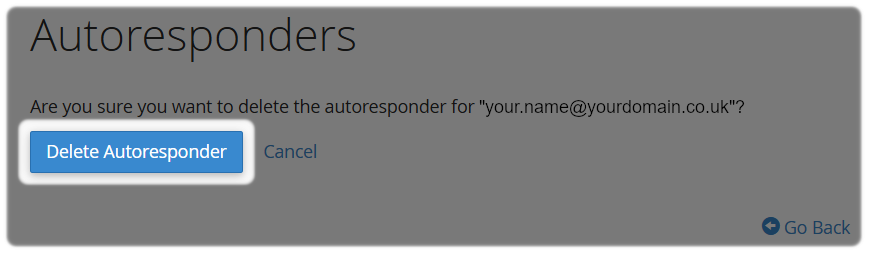
If you select Delete your autoresponder.
- Confirm by selecting Delete Autoresponder
Your Autoresponder should now successfully be deleted.
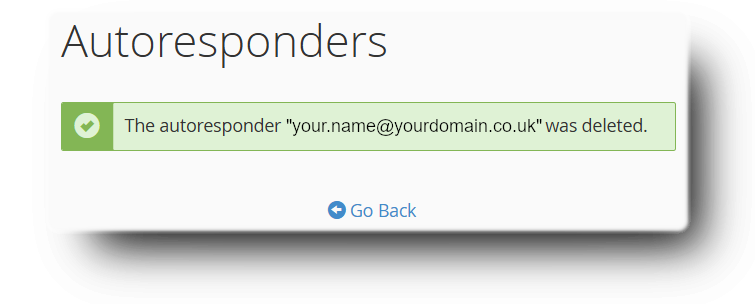
The autoresponder will be removed immediately and automatic replies will stop being sent.
Need Help?
Feel free to contact our Web Hosting team.